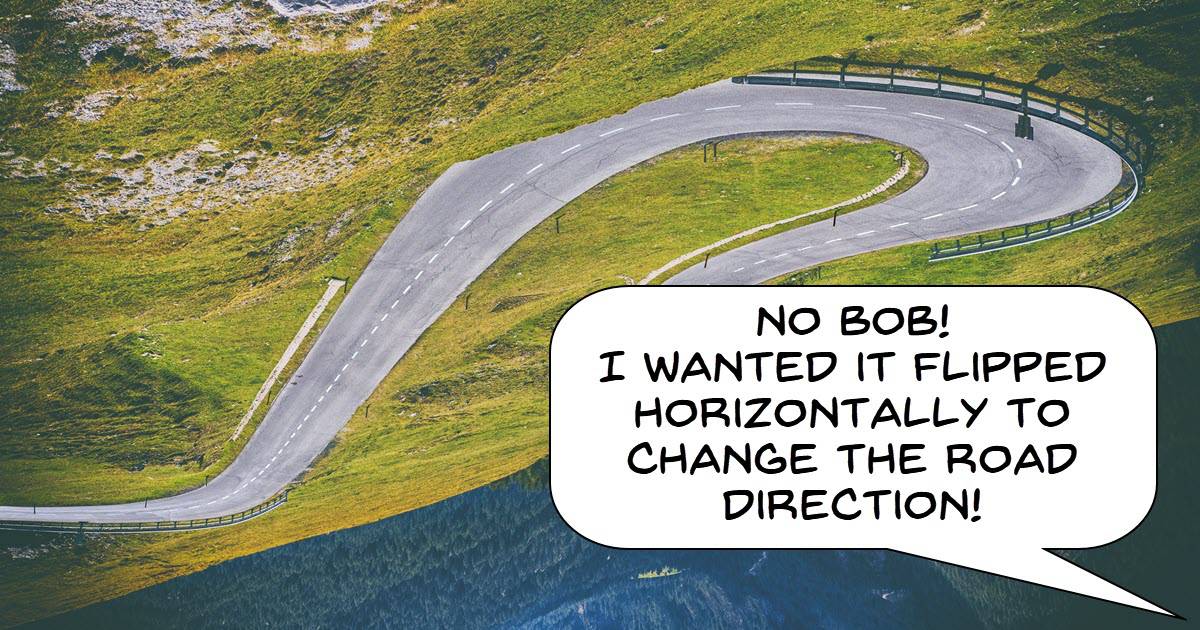
To Flip or Not To Flip?
These days most video editing software allows you to flip your videos sideways 180° which may or may not be an advantage to you!
Sometimes it can be a very easy way to fix a perspective problem between shots but there are some downsides to it as well.
One of them is that as “correct” as the image may now appear, elements in the image may seem strange.
Often this strange effect will be something you cannot really put your finger on but it seems strange nonetheless.
Remember there is a reason why horror movie makers use this technique!
These Video Editing Trends Make a Big Difference – Editing Videos in 2023?
With the proliferation of content being uploaded to YouTube each day it has always been such that editing styles move in and out of fashion.
Look at some video from a few years back and then look at more recent ones and you will see what I am talking about.
Most of these trends tend to be quite easy to replicate given that most creators are really fully professional video editors.
So here are some for 2023.
Auto Ducking in Audacity
OK so I didn’t actually know about this one!
Ducking is the word used for the action of reducing the background audio (usually music) at those times when there is dialogue or a voiceover happening.
The purpose of course is to ensure that the spoken parts are heard clearly and nor drowned out by the music.
Apparently you can do it automatically in Audacity so that’s cool!
How to Add Subtitles to Your YouTube Shorts for Maximum Impact
One of the more recent developments on YouTube has been the introduction of Shorts and like the other form of long content video there is value to be had with subtitles.
Both long form videos and shorts benefit through the visual reinforcement of the message with words on the screen.
However with shorts this becomes even more impactful because of their shortened running times.
If you are creating shorts (and you should be) then it is really easy these days to add subtitles.
You can see it done here in VideoStudio.
Cinematic Video for Beginners – Filmora Creator Tips
This is a simple color correction tutorial in Filmora and apart from the heavy accent, pretty easy to follow. If there is one thing I would add to it is to take note of the settings. By that I mean take note of just how little each setting is changed in order to correct the image.
When it comes to color controls in any video editing software a little goes a long way.
How to Speed up a Video in Wondershare Filmora
Filmora offers some pretty good control these days over a wide range of video and audio settings.
They have one of the easiest speed ramping modules around and in this video you can see how to access and use those controls.
Fix Fast Video Rendering Technology in Under 3 Minutes – PowerDirector
Bit of a deep dive into the Windows registry here but if you are feeling adventurous, go for it!
I am not really sure why PowerDirector sometimes gets some of these settings wrong but I believe it is because it has failed to detect the graphics card correctly.
PowerDirector – Two Ways to Add Fonts to PowerDirector
There are actually two ways to add fonts to Windows outside of the method shown here inside PowerDirector.
The first is as shown in the video by finding the font folder and dragging the font file in there.
The second is by downloading the font anywhere on your computer, right clicking and you will be offered an entry named “Install” in that context menu.
Click that and you are done.
All programs that access the Windows font library with now have access to that new font.
The third way is the one shown in the video.
Important Camera Settings for Video
In the video below Aiden Robbins covers some important aspects of camera settings, such as aspect ratio, resolution, and frame rate, and their impact on the quality of the footage you capture.
The video provides a comprehensive guide to using camera settings for video production and highlights the importance of staying on top of these settings to avoid ruining footage.
Whilst you and I may not be working at the same level as Aiden the advice given is well worth looking at if you want to lift your videos to a higher level.
Ingest & Organize Media in DaVinci Resolve – Workflow Tip for Beginners
Organizing your assets prior to editing your videos is a critical step that often gets overlooked in the excitement of getting started on the edit.
By “assets” I mean any visual or audio elements that you plan to use in your project.
Failing to organize these elements can lead to a chaotic and confusing editing process making it difficult to find the right clips and sounds.
This in turn leads to endless time wasted looking for things or re-doing things because you got lost in your own process!
In the video below Casey Faris runs through some basic tips on this vital step and gives an outline on how to do it efficiently.
Leave a Reply