Sound like a PRO YouTuber on Camera
One of the most horrifying things that happens to anyone who records their own voice for any reason is that they listen back to it!
The actual horror is that they realize their voice sounds thin, totally lacking in any resonance whatsoever and nothing like they thought it would sound.
The reason for that is that we have all grown up listening to the sound of our own voices mostly from inside our own heads.
Sure our ears pick up some sound from our mouths but the majority of that sound is coming from the inside.
There is built-in resonance from the voice box itself as well as cavities in the nasal area that also change the way you sound… to yourself!
Everyone else has been hearing you they way you really sound for years and the first lesson to learn is that no-one else thinks you sound strange or weird.
They key to solving the problem is repetition.
If you just listen to your recorded voice over and over eventually that initial shock dies down and you get used to it… just like everyone else did years ago!
5 Tips To Look And Sound More Natural On Camera
Just like it says on the box, 5 tips to look more natural on camera… BUT! It’s not just the usual stuff.
In this video Kevin breaks down the basic problem with talking on a video in that it is wholly unnatural.
We generally don’t talk to “things” unless we are angry at them!
There are techniques to overcome and bypass that problem so that your communication sails through to the viewer.
How to Use Green Screens
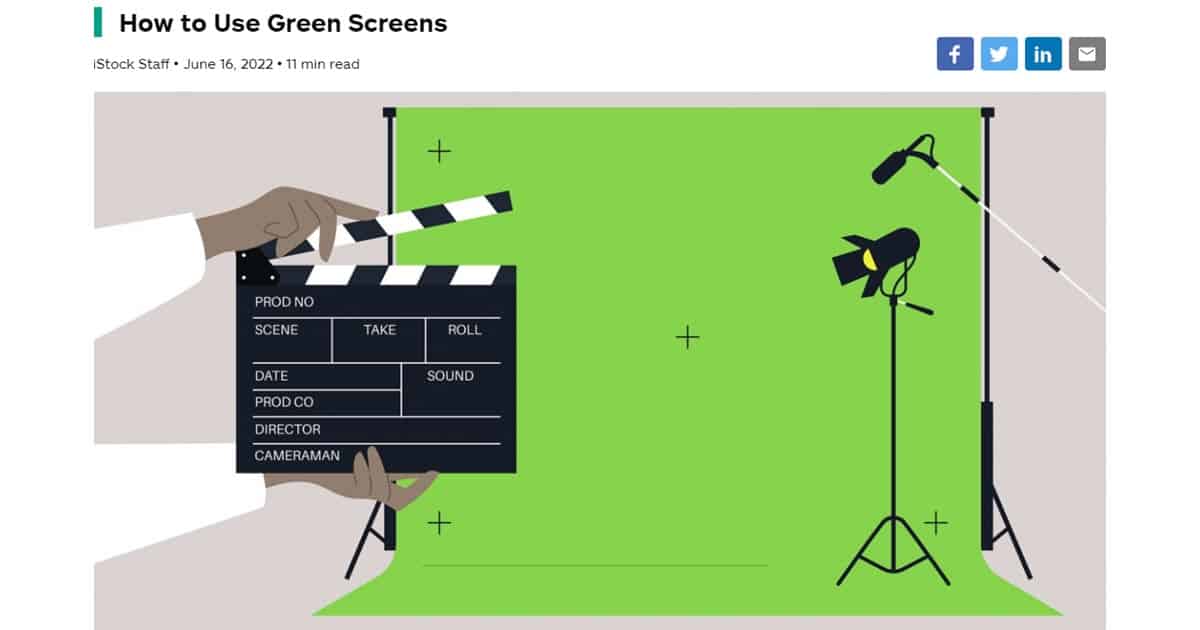
This is a pretty comprehensive post from over on the iStock Blog https://marketing.istockphoto.com/ on the subject of green screen.
If you do a search here on the DIY Video Editor for green screen you will get some solid results for green screen tutorials.
However I would highly recommend you taking a look at this one as well.
Those other tutorials cover the more technical aspect of setting up and shooting green screen as well as dealing with the footage in editing software.
This tutorial does that but also adds important information on modern services like Zoom etc. that don’t fit the more traditional models we are used to.
How to Make a Custom Logo New Blue Titler Pro
Last week Gripps uploaded a video introducing the basic features of NewBlue Titler Pro 5 which is included as part of Corel VideoStudio 2022.
As I mentioned then it is a beast when it comes to creating titles but similar to most beasts like it, it can be rather daunting to approach.
If you have watched that video and have had a good play around with it and the basic functions then this week he takes it up a notch.
In the video below he goes into some of the more complex and advanced parts of Titler Pro to show what it can do.
Getting Monetized Kills These Channels – 2022 YouTube Update
A very real phenomenon can often occur with a YouTube Channel when it hits the targets for monetization.
That phenomenon is a sudden drop off in traffic which is puzzling to say the least.
Apparently you have been doing all the right things to get your Subscriber count up and your watch time up and YouTube is now rewarding you with money… yet taking it all away at the same time!
WTF! Check out the video to see the details and a strategy to stop it from happening.
Easy Night to Day Transition Effect! – Wondershare Filmora Tutorial
Transitioning from a night scene to a day scene can be done very simply with some color and lighting adjustments but that a surefire way to make it look amateur.
In the video below you can see how to do the same thing and really “sell” the effect with only a few simple added steps in the shoot and edit.
Filmora 11: Freeze Frame Effect Tutorial For Beginners
Adding a freeze frame for effect in a video is a very simple way of adding emotion to a clip.
Of course I say it is simple because I already know how to do it!
You too can say it is simple after you watch the video below to learn how to do it.
It is worth noting that this tutorial is done in Filmora so the buttons and controls being used will be different to other editing software.
The important point to remember is that if you can do it in Filmora you can do it in just about any video editing software.
All you have to do is understand the steps then find the corresponding controls in your own video editor.
Camera Tracking Hack – PowerDirector
This is a pretty cool and very effective trick you can apply to any video that could benefit from some camera movement.
In the example shown below you can see the original footage has lots of interesting movement in it in the form of dance.
However because the footage is shot from a fixed camera position it is kind of lacking something.
Add a little “fake” camera movement and things change dramatically.
PowerDirector – Using the Video Intro Designer in PD365 – Part 2
This is a continuation from last week’s introduction to the new Intro Designer in PowerDirector.
This new feature is designed to specialize in creating high quality Intro sequences for video projects that can be used over and over.
In this video we go deeper into the actual functions of the module to show what it can do.
Pro Editor Tells ZHC Why His Videos Are Bad
There is a lot to take in here and I don’t think any of us will be applying the entirety of these tips this week!
However it is very interesting to look at an edit from a top of the line editor to see how granular the decision making process goes.
Color Grading In Changing Light
These days even the most basic video editing software is going to offer you the ability to correct color in you video quite effectively.
On top of that they mostly offer the ability to color grade your footage as well.
However it is not until you get into the more advanced software like DaVinci Resolve are you going to find the ability to grade footage that has within it very different lighting conditions.
If you shoot from inside the house to outside for example, there is inevitably going to be a marked difference in the lighting of that shot.
In the video below you can see how to deal with this in Resolve using a sort of “fade in fade out” effect applied to two consecutive lighting situations.
In more basic video editing software you are probably not going to be able to do that.
What you should do in this situation is explore your software to see if you can key frame changes or even cut the footage and apply two grades then use a cross fade.
Once you watch the video below you will get the idea of what needs to be done.
The problem for you to work out is how you can do it in your own software.
Leave a Reply