Editing To The Eyes
There are generally speaking a few logical places at which you can make a cut in any editing project.
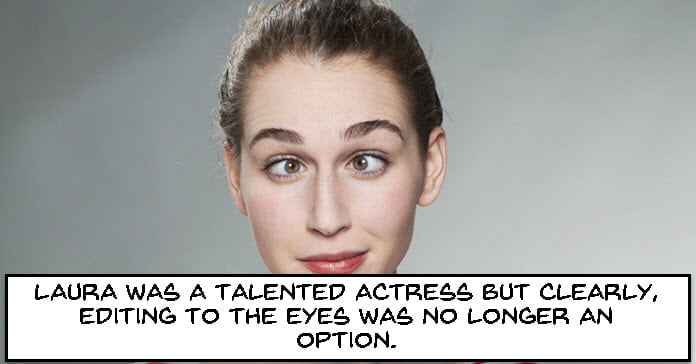
Often times it is at a point where it just makes sense but there is also a point or a technique called editing to the eyes.
Now as any reader of this blog knows I am not just prone to lengthy discourses on technical things, in fact I love nothing more than to go on and on and on about it!
The problem with this one is that you can do that and still not really explain it well. Briefly, editing to the eyes means that when, in a shot you can see that someone is looking at something or it is noticeable that they are now looking at something you then make a cut.
At that point you go to the next scene which is whatever it it the person was or is supposed to be looking at. Simple really.
A guy is looking out a window, you then cut to whatever it is that can be seen out the window.
So, tempted as I am to go off into a rave about it, just watch the video!
Cuts & Transitions 101
At the most basic level of editing there are only a few stock standard ways that an editor gets from one shot or scene to the next.
They can just cut directly, fade through or to or from black, and also they can dissolve.
Each one of these depending on how and when they are used creates an effect on the audience.
Once you have used all of these then it’s time to start playing with the “big boy” versions of them and at this point we get into not only different types of cuts but also transitions.
Now before I go any further we need to clarify the word transition.
Transition means to go from one thing to another and has the sense of that change being somewhat gradual or at least gradiently applied.
In the world of amateur editing a transition is generally one of about 500 preset little inserts you can put in between two clips.
Their main purpose is to make you go wow and buy the software because even though you are not sure what they are for, there are 500 of them and they spin and twirl and stuff!
So for the purposes of this article we are not talking about those transitions, we are talking about real ones that real editors use!
On top of the basic cuts there are many, many different ways you can “transition” from one scene or shot to another and they are all based on either cutting, fading or dissolving.
The list is quite long but to get an idea and to maybe get a little inspiration check out this video that goes very well into the whole subject.
CyberLink Plans for VR and 360 Degree Editing
CyberLink came out with a press release this week on the subject of VR and 360 degree video. Obviously this is a subject that is gaining traction in the news cycle recently and is fast becoming “the next big thing.”
Magix have already come out with a feature in their video editing software that allows for the import of 360 degree and VR footage but only in the sense that once you have the footage you can only add it to a normal project.
In other words you can use 360 degree video but you can’t output it from within the software.
Although credit should go to Magix for being the first kids on the block the reality is that it is still for them a pretty half baked feature.
So far CyberLink have made a few noises about it so this Press Release seems to be the first solid evidence that they are now fully in development mode and will be releasing stuff pretty soon.
Most software companies tend to start with the development and only when it is pretty mature put out a Press Release announcing the start of the development!
Then when the product gets released within a short period of time it looks like they are totally rockin’.
Whilst CyberLink have indicated that their traditional playback software will be geared up to handle the new formats I will be interested to see just how far they will take it with their editing software like PowerDirector.
The history of CyberLink tends to suggest they will come out guns blazing with a fully functional module but only time will tell.
News this week from Telestream that they have released an update to their Mac based screen recording and video editing software ScreenFlow.
This latest release takes the software to version 6 and as I would have thought they haven’t really added a great deal to it.
The reason I say that is that the software has pretty well always been an excellent program and one of those Mac programs that “just works.”
Over the years as the screen recording aspect of it became less unusual they immediately set about improving the editing part of it which they did very well.
So as it stood it was a very well designed and very effective screen recording and video editing combo.
In ScreenFlow 6 they have improved a few things and added a few as well.
They have improved the Partial Screen Capture feature to perform better especially for those on smaller monitors.
They have added motion animation effects and a setting that allows recording on a loop so that it can continuously record.
That means you can set the program to record the screen for an hour.
Once the hour has passed the program begins to delete the earlier parts of the recording as it adds the later parts.
Their suggestion is that you can use it to capture what’s happening with intermittent program failures… or whatever.
It can now also export animated GIFs and use ProRes output options.
Anyhoo you can click here for my ScreenFlow review and read the original press release in the link below.
Color Grading and Color Correction
Over the past few years your average consumer level video editing software has added more and more precise control over correction in terms of quality and as far as color itself goes.
The inevitable split between color correction and color grading occurred about two years ago now.
Whilst it was all very well at the time (and to this day!) for the marketing department to extol the virtues of color grading as the absolute must have feature everyone wants, the reality is most people don’t do it or even know what it is.
They especially don’t know what the difference is between color correction and color grading so I think a lot of folks just go into the correction module of their editing software, do some stuff and figure they must have been grading… cos’ that’s what it says on the box!
So, in an effort to clear up the situation here is a link to an article that clearly explains what the difference between the two is.
Once you understand that grading is not a corrective process but something you are using to create a “look” then I would highly recommend you find that module, load up some footage and have a play with it.
You really can change your videos around in the most interesting ways through grading.
More on Title Sequences
Over on Indie Tips this week Lewis McGregor goes into the subject of titles for video projects.
There is a video on the page and at first I was tempted to just add that video to this page with a bit of commentary but then I read the whole page and changed my mind.
These days a lot of people are creating video content at an amateur level for uploading to YouTube or whatever and this is not just something we do for home movies.
Whether for a hobby or for seriously creating a video style blog one of the best ways to learn how to do it better and to attract or keep an audience is to learn the “why” of things.
Opening credits aren’t just so that the movie stars can see their names or the director can see his or hers.
They serve a purpose and in fact they can serve a number pf purposes depending on the situation.
So if you are regularly creating content and that content is for more than friends or family this is an article that is well worth taking a look at.
- Title Sequences – The Theory Behind Them and How To Make Your Own
Leave a Reply