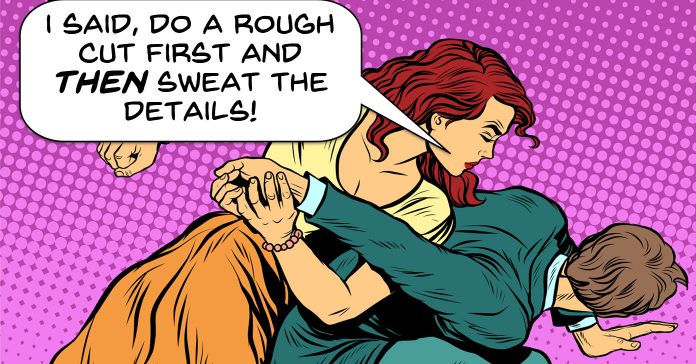
Rough Cuts
The article linked below comes from a pro editing series but I wanted to add it this week because the basic concepts apply to any level of editing.
As I have mentioned before there are many ways to approach an editing workflow and each one has advantages and disadvantages.
All good workflows should start with the first step of bringing into the editing software all of the assets that are going to be used in the project.
The next step is vital and never really changes.
That is the organization and naming of those assets in a way that will allow you to quickly find what you are looking for when it comes time to using them.
The point where most workflows begin to diverge is after that step and most of them can be broken into two schools of thought.
One is the idea of micro editing as you go along.
That means you add your first clips, audio etc. and begin the process of completing that first little section.
Then you move to the next and the next.
The other school of thought is that you first add all of the clips you are going to use, then all of the audio and images etc. until you have the entire projected loaded on to the timeline as a rough cut.
After that you then focus in on each section or sequence and fine tune it until completion.
I personally like the second “rough cut” method as it allows me to get a better overview of the completed project and makes me feel like I know where I am going.
Believe me, anything that makes me feel like I know where I am going has to be a good thing!
The other advantage I see in this method is that it cuts down the possibility of me having to go back and re-add footage or assets I have already cut out so I am not going in circles… as much!
Check out the article and make your own decision but remember the right one is the one you feel most comfortable with and makes you feel most in control of the process.
Jump Cut Tricks You Need to Try
OK so just a few things to clarify here before you go diving into the video below.
Even though these are some pretty good examples of places where you can effectively use Jump Cuts I wouldn’t go so far as to say you “NEED” to try them!
I mean you can if you want… it’s your call.
Secondly, if you are not sure what a jump cut is then watch the video and you will get the idea.
In days gone by the jump cut was actually considered an editing mistake rather than a tool so it goes to show that in the world of video sometimes a mistake can be used to your advantage.
How To Green Screen Video Like A Pro – PowerDirector 17
Green screen is one of those features in most modern video editing software programs that is touted as an easy-peasy point and click operation.
Nothing could be further from the truth.
Good looking green screen starts at the shooting stage and if you get it wrong there it can be very difficult to recover!
However in most current software packages offering this feature things have come quite a ways since the days of “it either works or it doesn’t.”
Inside many green screen modules you will find a number of tools available depending on which brand, that will enable you to fine tune and tweak you projects to perfection.
The video below although done specifically for PowerDirector, gives quite a good run through of some the of the finer adjustments you may have access to and how they work.
Are Travel Videos Ruining Filmmaking?
This little rant is directed at anyone who is toying with the idea of taking their video making to a more advanced or even professional level.
The video that goes with it (below) delves into the current scene with regards to the ever present “travel videos.”
You know the ones full of exotic locations, bikini clad models and social media influencers.
I not only agree with the sentiments expressed in the video but I also think that the problem goes even further that that.
There is a tendency these days whereby the most exposure is given to those with… the most exposure!
The way the video sharing platforms are designed means that once you kind of break through to a level of viewership the software running those sites will tend to present your videos more and more to potential viewers.
For the user this is good because they are being guided to content similar to what they have already shown a preference for.
For the platforms it is good because it keeps viewers engaged for longer increasing the chances of ad revenue being generated.
However for the budding film maker it is not so good.
It tends to create the idea that the only type of video that is successful is of a certain type, of a certain look and of course has to be polished within an inch of its life!
It is to me a kind of false picture of what real people are doing and what it really takes to become good at making videos.
So apart from the sentiments expressed in this video there is one other lesson that you should take away from this.
When you are setting out on your video making journey the ONLY person you need to compare yourself to is… yourself!
Sure you can check other people’s work and listen to criticism but when it comes to comparisons keep it really simple.
Look at the project you just completed, then look at your earlier projects and ask yourself whether it is better, the same or worse and then try to work from there.
How to Screen Record with Filmora9
This is quite a good tutorial by the guys at Filmora on recording your screen as well as recording your scree and the stream from your webcam at the same time.
If you don’t have Filmora then that’s OK!
You can refer to this tutorial anyway because there is something strange in the world of screen recorders that I have noticed over the past few years.
About three years ago the ability to record the screen became a feature of most video editing software.
Prior to that you pretty much needed dedicated software but that’s all changed now.
So here’s the strange part.
If you open the screen recorder in Filmora, PowerDirector, VideoStudio and Magix you will notice that they are all almost identical!
I strongly suspect that there is a third party software maker out there that is licensing the screen recorder to all of these different brands. Those brands haven’t bothered to adjust the appearance of them so they are basically the same.
So that’s why I say that it doesn’t really matter what software you are using, this tutorial should work or at least be very close for all of them.
PowerDirector – Introducing Two Useful Adorage Volume 10 Transitions
This is a good walk through of accessing and using the Adorage effects package that comes with PowerDirector and some other video editing software brands.
I think it is interesting to check out but not necessarily from the standpoint of using the transitions shown.
Many of the current brands of video editing software have adopted the use of third party transitions, effects and titling packages from companies like Adorage and NewBlue FX and ProDad.
It may be that you have one or some of these in your own editor and they are usually well worth taking a look at.
These companies specialize in specific aspects of editing and post production and can offer the user some pretty good control over your projects.
As you will see in the video you can simply add some of these using their default settings but when you delve a little deeper into them it is like you just opened up a whole new programs for executing your editing choices.
PowerDirector – Make A Title Float On Water Or Move With The Camera
This one is a good demonstration of how you can combine the use of key frames, titles or objects and motion paths (motion tracking) to create a simple but effective result.
This is not confined to PowerDirector, it applies to any software that has these features available.
Leave a Reply