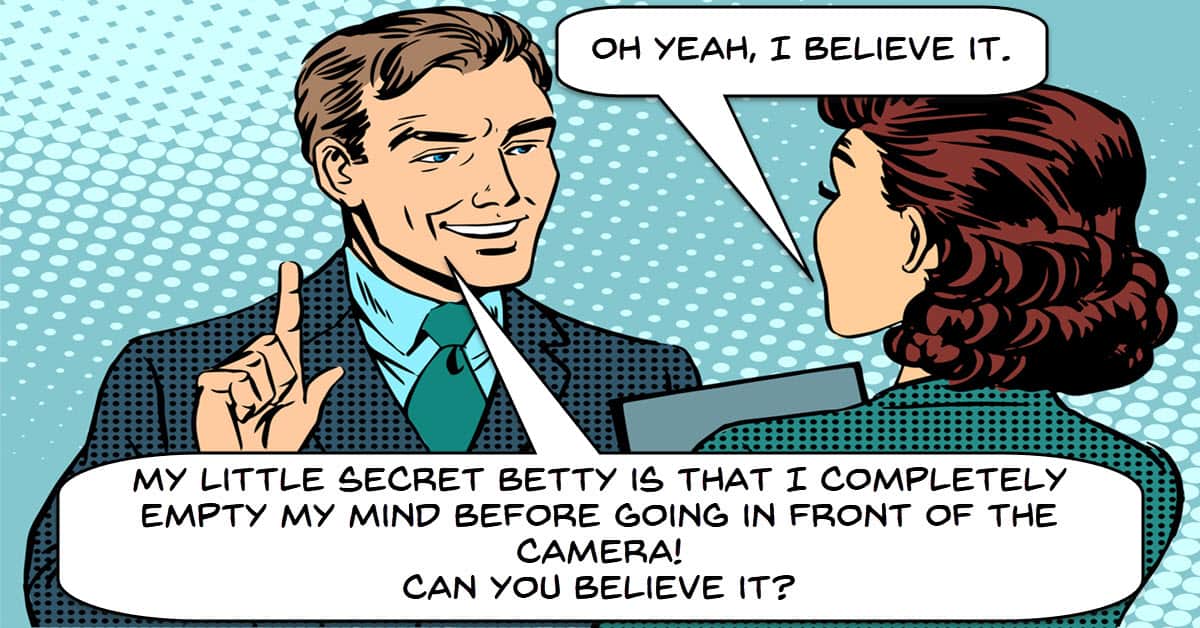
How To Get Comfortable on Camera
I am not sure that there is anyone that started off in front of the camera feeling totally relaxed about the whole thing.
For most people it is an excruciating process with the good news being that over time it gets easier.
In the video below there are some tips for getting better in front of the camera but probably the biggest tips is that of practicing.
The more you do it the more relaxed you will be when you are doing it.
My favorite tips in all of these is to watch yourself and listen to yourself.
Seeing and hearing ourselves is not something that is ever going to happen outside of this activity so how you look and how you sound on camera starts off as a bit of a shock.
If you just keep doing it over and over eventually you get used to it and that goes a long way in making you less self-conscious on cam.
How to get Cinematic Video with an Action Camera
So first of all before you check out this video there are a couple of things I need to warn you about.
The first is that the video itself was sponsored by the company that makes the camera they use to do all the demos in the video.
From the outset that may make you tend to feel that it is nothing more than a glorified prom for the Insta 360 action cam.
That’s not completely true.
The vast majority of tips and tricks they show actually apply to any action cam such as a GoPro or a DJI Osmo Action.
Of particular importance is the first section of the video covering shutter speeds and frame rates when comes to shooting and especially shooting with stabilization switched on.
Timeline Tip: Editing the Details
One of the more broadly accepted workflow steps when editing any video project is to throw together a “rough” edit then begin to fine tune through to the end.
Doing that allows you to go from a wide overview of the project down to fine details then back out to the wide view to maintain perspective on the whole.
An often overlooked point in all of this which is covered in the video below is the concept of getting distracted.
When you first open up any video editing software and add few things to the timeline and libraries, very quickly your computer screen begins to look very, very busy.
There a lots of little thumbnails, buttons, dials and heaven knows what else and they are all to some degree demanding attention.
In order to edit effectively you have to be able to shut out all of that visual noise and just focus on what you are doing.
That’s why pro editing software has the concept of completely different interfaces for different tasks.
It’s all an effort to not display things that would not be used when doing that task.
As you will see in the video another way to cut down on distraction is to zoom in on what you are doing.
Learning to zoom in and out of your timeline and tools within the interface is a vital skill if you want to remain sane as well as finish the edit!
How To Make A Shake Effect Video – CyberLink PowerDirector 18
This is a pretty straightforward tutorial on adding a “shake” effect to a video clip in PowerDirector which in itself is hardly rocket surgery.
The real reason I have added it for this week is that it provides a good example of how in most video editing software you can adjust the parameters of an effect.
More importantly it also show in a practical sense how keyframes can be used to control how and when that effect comes into… effect!
How to Customize Your YouTube Channel in 2020
If there is one that that you can rely on to always remain the same it would be that when it comes to setting up your YouTube Channel…. nothing remains the same!
I have a series of article on this website that you can see here Getting Your Videos Online that broadly covers the basics.
However if you really want to get serious you need to be always up with the latest and greatest!
Check out the video below for some of those most recent changes.
Basics of Film Lighting: Roger Deakins & the 4 Qualities of Light to Know
There is no doubt that even if you are watching every YouTube video out there on the subject of lighting, every time you watch a movie you know your doesn’t look like that!
Well there’s a reason for that… in fact there are many.
Check out the quite comprehensive article below for a great overview of what it takes to get fully pro level lighting.
Video Editing w/Vashi Nedomansky (Parts 1 & 2)
The video below and the one underneath it are not really representative of the usual content I include in the Friday Roundup.
I generally try to restrict items to more basic introductory type article and videos that are aimed at the beginner or even slightly more experienced users.
However I also realize that some of my readers may fall into that category of those who may see themselves moving forward into a more professional take on video editing.
As such I thought these videos may be either enlightening or at least eye opening.
These days just about anyone can access at least some kind of video editing tool.
Most consumer level video editing software can execute editing at quite a professional level as well and that has the effect of creating an illusion that “pro” editors are not all that different.
I think if you take a look at these videos you will see that just because you have fancy editing software, that doesn’t mean you are a pro!
This is what professional editing is.
Video Editing w/Vashi Nedomansky (Part 2)
DaVinci Resolve 16 – Editing Tips and Shortcuts
The is a great demo tutorial that covers editing together a complete video clip from start to finish.
Even though the lesson is done in DaVinci Resolve there are some excellent tips and tricks going on here.
One of the key points right at the beginning is that Casey sets up his keyboard shortcuts to how he wants them.
If you then follow through the video you will see just how fast this makes editing once you get used to using them.
Just about every video editing software I know of has a range of keyboard shortcuts already baked in to the program.
In some cases you will also have the ability to map your own shortcuts the way you want as you see in the video.
Leave a Reply