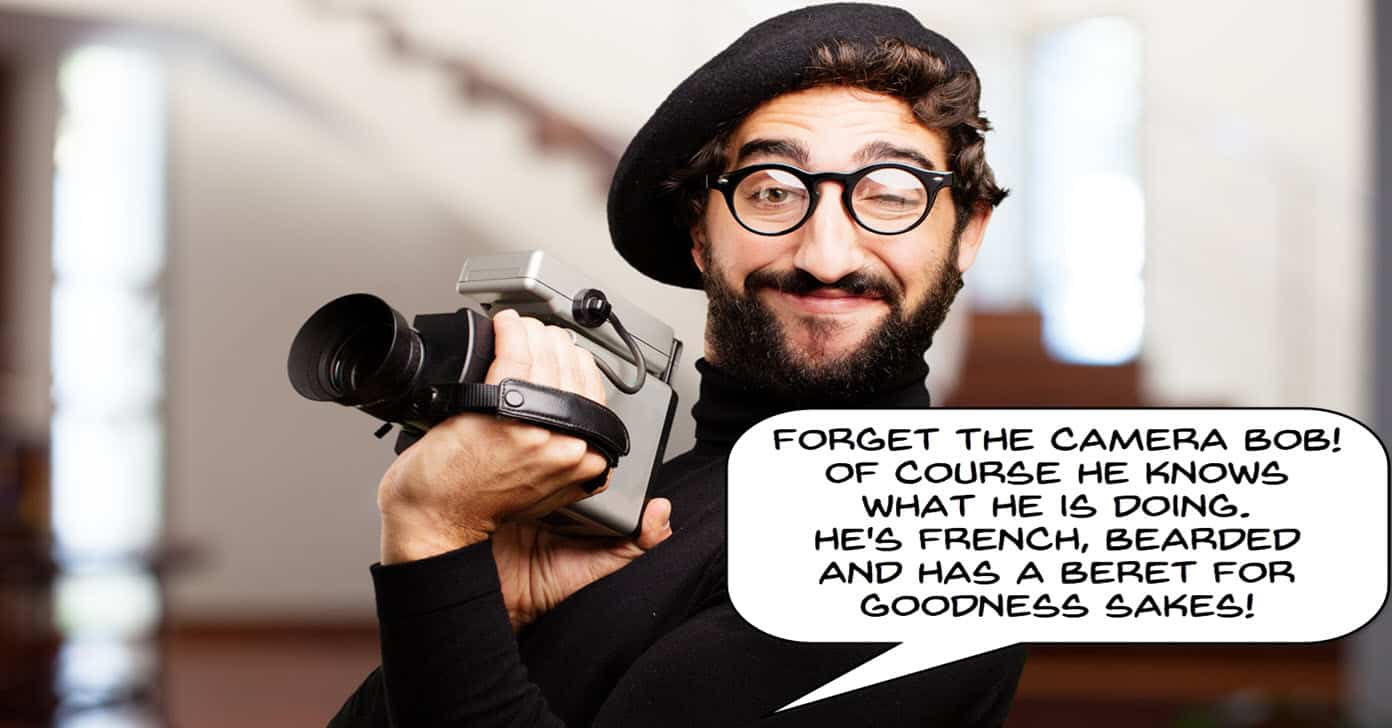
8 CAMERA SHOWDOWN – Can You Tell The Difference?
I never really get too much into the wacky world of comparing cameras for video or trying to keep up with the latest and greatest in the subject.
I just don’t have the time or resources to do that and when you combine that with my natural laziness… well you know.
Anyway one thing I really get tired of are those circular arguments over which is the best camera for this or for that all of which seem to just go on and on forever and never actually resolve.
My opinion on it is this, the best camera for video is the video camera you have right now.
If you have to ask the question, “Do I need to get a newer/better camera?” then the answer is no.
If you can change that question into a statement such as, “I need a newer/better because of (insert actual technical data here………………………………………………….) then the answer is probably yes!
Either way when it comes to video cameras these days in all reality the differences are quite small.
How to Choose Your Own Video Camera
How to NOT Make a Cliché Travel Video
Although the title of this video refers specifically to “Travel Videos’ I think the message holds true to just about any type of video you care to mention.
A few years ago when you checked out videos on YouTube the most common thing you saw was the application of cheesy transitions.
Everyone was getting fully loaded video editing software and that software was bloated with preset transitions.
So you could tell all the ones that had just done that by the fact that they tried to include ALL those transition in a single project!
That all started to calm down a tad when everyone realized that it wasn’t really helping.
Fortunately (or unfortunately) some more professional video makers began to appear and they started to introduce the concept of bespoke transitions and effects rather than prepackaged stuff.
Sadly as is the case with most things everyone started copying those effects… over and over and over until they too began to look just as cheesy!
So check out the video below for a more reasoned approach to effects and transitions in you projects.
PowerDirector – Using Pan and Zoom for a ‘Ken Burns’ Effect
This is a demonstration video of how to apply what is known as “The Ken Burns Effect” to images in PowerDirector 17.
The effect is named after the American documentary maker Ken Burns because of the way he used it extensively in his productions.
The most notable of which was “The Civil War” about the American Civil War.
He was faced with the problem that obviously there was no archival video footage available to him and that dramatically re-creating the events being discussed would have been astronomically costly.
His solution was to use almost exclusively historical black and white images that were available and to keep things moving visually, apply pan and zoom effects to those images.
The technique is quite simple to implement and can be done in just about any video editing software.
Additionally it can be done automatically to a large number of clips on the timeline by just applying a random set of pan and zoom presets. BUT!
This like most things in video editing, is where we all jump aboard the train to cheese town!
Poorly applied pan and zoom effects DO NOT mean that you have magically achieved the Ken Burns Effect!
For the effect to have any impact at all you have to use it only when it is appropriate and you have to apply pan or zoom or both to each image depending on the composition of that image.
To put it into a formula you have to look at each image and ask yourself, “What do I want the viewer to see first?”
Then you have to ask yourself, “What do I want the viewer to see next and then next and then next?”
And finally you have to ask yourself, “What to I want the final frame to be that the viewer will be looking at before the next image or video sequence?”
CyberLink PowerDirector Review Here
Audio Tips
As I have stated many times on this site and it’s a cliche that goes on forever, the most important part of video is audio!
If you get the audio right it invisibly pulls the whole projects together with the audience oblivious to the fact that the audio is doing that.
Get it wrong and it invisibly turns the whole thing in a train wreck.
Check out this article for a great tips on checking that audio before you release that project into the wild.
- Silence Is Golden
Product Lighting – Commercial Cinematography 101
Ok so first up let me be clear that I am not posting this one because I think anyone is going to actually do any of this!
The reason I am posting this video is because it goes to answering in detail just what it really is that makes something “cinematic.”
I see that kind of question or comment made very frequently these days and there seems to be this endless search for that “cinematic look.”
The reality is that the cinematic look is comprised of a multitude of tiny details in just about every aspect of a production from start to finish.
The video below illustrates that perfectly because all it covers is the lighting of a beer bottle in a product video.
Nothing about the camera or the script or the actors or anything else, just lighting a beer bottle!
$40 D.I.Y. Cake Pan Light
This is an excellent D.I.Y. project for anyone wanting a great lighting setup for indoor shooting on a regular basis.
One of the things you should take note of when you are looking at videos of some of the most successful YouTubers is that they take great care in their lighting.
Actually to be more accurate, one thing you should take note of is that you never seems to notice they are taking great care with their lighting!
This does not in fact require thousands of dollars worth of lighting equipment and if you check the video below, it requires about $40.00!
PowerDirector Time Lapse, Transitions, DVD Menus, & PowerDirector 18
This is another regular FAQ video from PowerDirector University which he does about once per month.
In this video he covers some of the finer points of dealing with the timeline especially when adding transitions.
He also provides a great workaround to the limit in PowerDirector’s Library that only allows 2500 images to be added at any given time.
You may be wondering why on earth you would have 2500 images in the library in the first place!
This is generally only a problem if you are doing a rather long time lapse sequence where the number of images needed can go up pretty fast!
VideoStudio Video and Text Masks
This is a quick run through of using masks in VideoStudio 2019.
It covers creating text masks, image masks or object masks as well as the use of keyframing within the whole process.
DIY Light Leaks Transition, Keyframe Animations, PIP + More
About once per month or so the guys at Filmora put up an FAQ video for their users.
If you are using either Filmora9 or Filmora Pro then following these videos is a great way to not only keep up with the latest but to also extend your knowledge of those programs.
In fact I usually check them out to see what they are up to and very often the tips and tricks apply to editing in general, not just their products.
Original Image by: Kues/Shutterstock: Young French Artist Video Camera
Leave a Reply