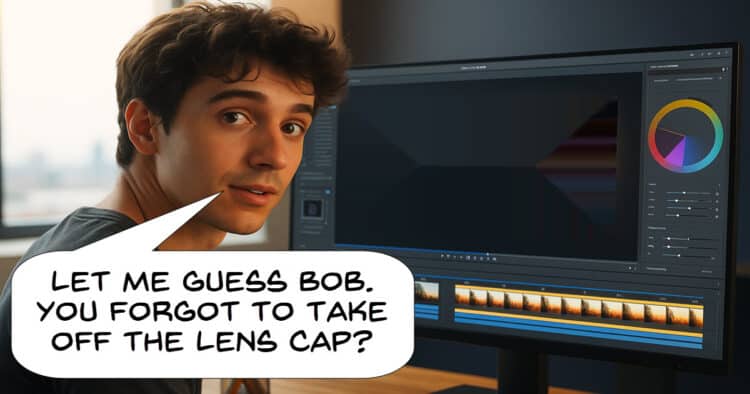
Video Editing Mistakes That 98% of Beginners Make – Guide to Video Editing
There are a number of basic mistakes video editors new to the subject tend to make.
In this YouTube tutorial the guys from Movavi focus is on some of those mistakes and how to avoid them.
They emphasize the importance of maintaining a strong narrative, cautioning against prioritizing visual effects and transitions at the expense of storytelling.
It also covers technical and stylistic considerations such as removing dead air for smoother pacing, trimming scenes to keep them concise and balancing background music with dialogue to ensure clarity.
And finally they go into what is probably the most important point of all being to consider the audience’s expectations when making creative decisions.
5 Interactive Video Transitions You Need To Try
In this YouTube tutorial, Gaku Lange demonstrates five practical and visually engaging video transitions that can be used in filmmaking and video editing projects.
The transitions are: The Shot, The Toss, Gaussian Splat, The Catch, and The Drop.
If there is one way to really lift your video game it would definitely be to stop using preset or “canned” transitions that come with every video editing program.
The pro’s just don’t use anything like that and craft each transtion individually to make sure it is perfect.
He explains and demonstrates each transition step by step with a focus on techniques like speed ramping, match cutting, and sound design.
Each method is pretty approachable for editors of all levels and they also leave room for experimentation.
What’s New in Filmora 14.5: AI Video, RAW Photo Support & More
New features were recently introduced in Filmora 14.5 designed to simplify the editing process and support creative workflows.
Key additions include the Asset Center, a centralized hub for organizing filters, transitions, stickers, and templates, making it easier to browse and manage creative elements.
The update also brings AI-powered tools like AI Idea to Video, which generates scripts, visuals, and voiceovers from a simple text prompt, and AI Image-to-Video Templates, which turn static photos into polished video clips with minimal effort.
These features aim to streamline production for content creators while keeping pace with current design trends.
The Asset Center provides a centralized location for accessing all filters, transitions, stickers, and templates. This allows for easy browsing and organization of creative resources.
The AI Idea to Video feature enables users to create videos by simply typing in their ideas.
Filmora will then generate a script, visuals, and even voiceovers based on the provided input.
AI Image-to-Video Templates allow users to transform any photo into a professional-looking video in seconds.
Design Changes in PowerDirector 365
I think it was around a year ago now that the folks at CyberLink initiated a complete user interface redesign of their video editing software, PowerDirector.
Of course at the time there were tears before bedtime for many of the existing users because the old interface was something they had all become accustomed to.
It was pretty much a case of better the devil you know given that there hadn’t been an update for years yet in the meantime a slew of new features and controls had been added.
Personally I found the new design a little awkward at the beginning but I adjusted to it quite quickly and could see why a lot of the decisions were made.
In other words, most of the changes made sense.
Since that time they have been tweaking things a little here and there along the way so right now even the new interface is not exactly as it was when it was released.
In light of that here’s a fully updated and comprehensive tour of the current PowerDirector interface.
Removing Background Noise For Cleaner Audio – PowerDirector
The bottom line with noise removal from any audio is that it is not as straightforward as just clicking a button and your life is good!
Each audio file you may want to de-noise will have its own profile of frequencies that make up the sounds you want and another profile of frequencies that make up the sounds you don’t want.
The problem arises when there is an overlap of those frequencies so that if you aggressively remove the noise, you also degrade the desired audio.
An extreme example of this is you get all the unwanted noise out and leave your own voice sounding like Donald Duck!
It is for this reason that most video editing software these days has a couple of tools for achieving this effect based on the “more than one way to skin a cat” theory.
In the video below you can see those various tools in action but regardless of how you do it here’s my final take on it.
Before you make you final choice of method, use all the available tools you have at your disposal and compare the results to get the best you can.
Motion Tracking – PowerDirector Tutorial for Basics
Over on the PowerDirector YouTube channel they have added a bunch of new tutorial videos aimed at absolute beginners.
They cover everything you need to know to get started with the program and are an excellent resource.
If you are already using PowerDirector I would also recommend taking a look just to brush up especially with the new interface.
The Best New Tools in Resolve 20 – and What Still Needs Work
This is a thorough review of the new features introduced in DaVinci Resolve 20 beta.
There have been quite a few videos put out on the subject since the release of the version 20 beta but most of them have concentrated on one particular area of the overall.
This one covers everything while exploring both the strengths and weaknesses of each, focusing on enhancements that facilitate workflow as well as aspects that may require further refinement.
It covers the Music Editor, Keyframe Editor, Animated Subtitles, Vertical Viewer, Multitext, and Resync Media features for their effectiveness and potential to enhance the editing process.
However, he also points out the shortcomings of features like Intelliscript and Remove Silence, noting their clunky implementation and limited effectiveness.
This VFX Concept Saves You Time & Money! – Fusion VFX Beginner Tutorial
In this video from Casey Faris he takes a look at an effective VFX technique demonstrated in a recent tutorial video which focuses on utilizing masks within DaVinci Resolve Fusion to recreate the iconic wolfman transformation shot.
This method not only saves time and resources but also enhances the precision of visual effects.
The tutorial takes you through the process of masking specific elements such as hands and fur, applying textured overlays, and combining multiple masks to achieve a smooth transition.
A core takeaway from the video is the critical role of masks in VFX; understanding how to manipulate them allows for selective adjustments and the effective isolation of individual elements in a scene.
Leave a Reply