The Importance of Correct White Balance

White balance is a pivotal aspect of video post-production that ensures the colors in a video accurately represent the scene as it would appear in real life.
Proper white balance eliminates unnatural color tints and maintains the integrity of the video’s visual representation.
When white balance is correctly set it provides a neutral starting point for further color grading allowing for a consistent and true-to-life color palette across various scenes and shots.
Understanding Color Casts and Their Impact on Video Quality
Color casts are unwanted tints that can skew the appearance of a video most often introduced by lighting conditions that do not match the camera’s white balance settings.
These casts can affect the mood, clarity and professionalism of the footage.
For example a blue cast might give a cold, uninviting feel while an orange or yellowish cast can make scenes appear overly warm.
Recognizing and correcting these color casts is essential to maintain the intended emotional impact and visual quality of the video.
Overview of Offset Controls in Color Correction

Offset controls are a fundamental tool in the color correction process allowing for the adjustment of the red, green, and blue color channels to correct white balance issues.
These controls are part of the American Society of Cinematographers Color Decision List (ASC CDL) parameters which include Slope, Offset and Power, with Offset specifically designed to shift the entire tonal range of an image.
In video editing software offset controls can be found within the color panel often represented as sliders or color wheels for each color channel.
By manipulating these controls editors can neutralize color casts and achieve a balanced, natural-looking image setting a solid foundation for creative color grading.
Identifying White Balance Issues
Using the RGB Parade to Spot Color Imbalances

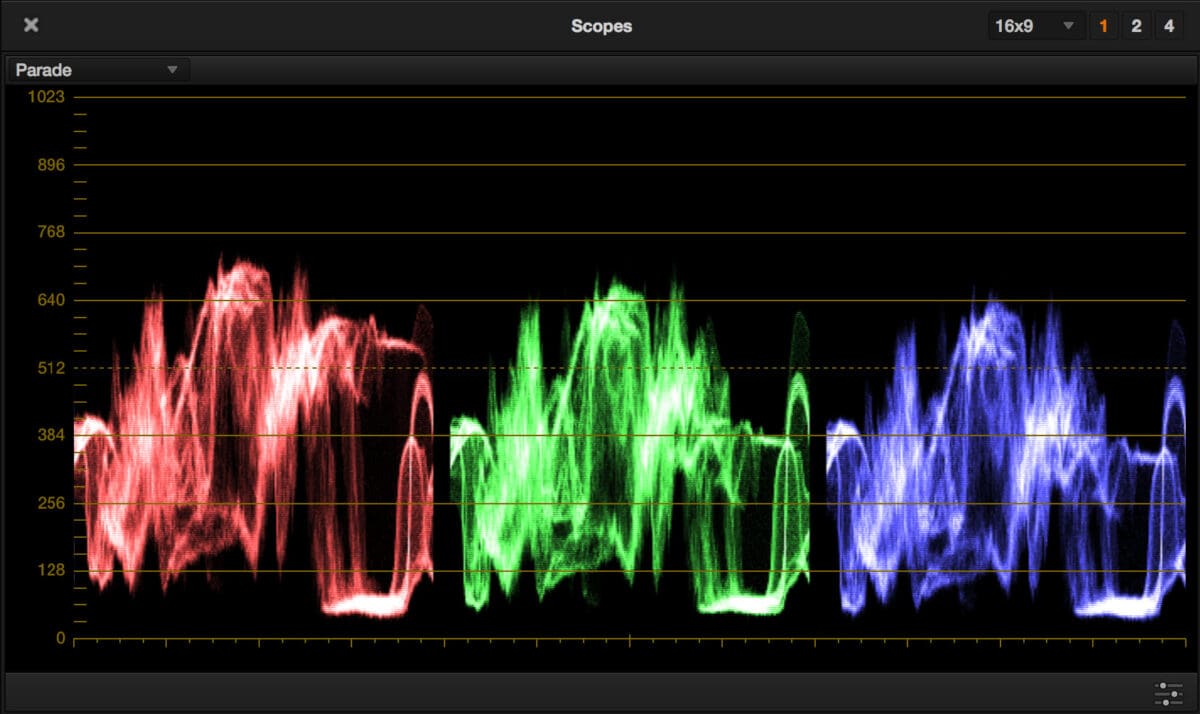
One of the most effective methods for identifying white balance issues in video footage is by utilizing the RGB Parade shown above.
This tool is essential for colorists to make the initial “correction” pass.
The RGB Parade displays the luminance information for each of the red, green, and blue channels separately, rather than combined.
This separation allows for the detection of color casts that may not be immediately apparent in the combined luminance waveform.
When examining the RGB Parade a well-balanced shot should exhibit a relatively even distribution across all three channels.
However if one channel significantly deviates from the others without a justified reason from the scene’s content or production design it is indicative of a white balance issue or color cast.
For example an outdoor scene shot with a tungsten white balance setting will display an excess of blue in the RGB Parade, signaling the need for correction.
Analyzing the Waveform Monitor for Luminance Discrepancies

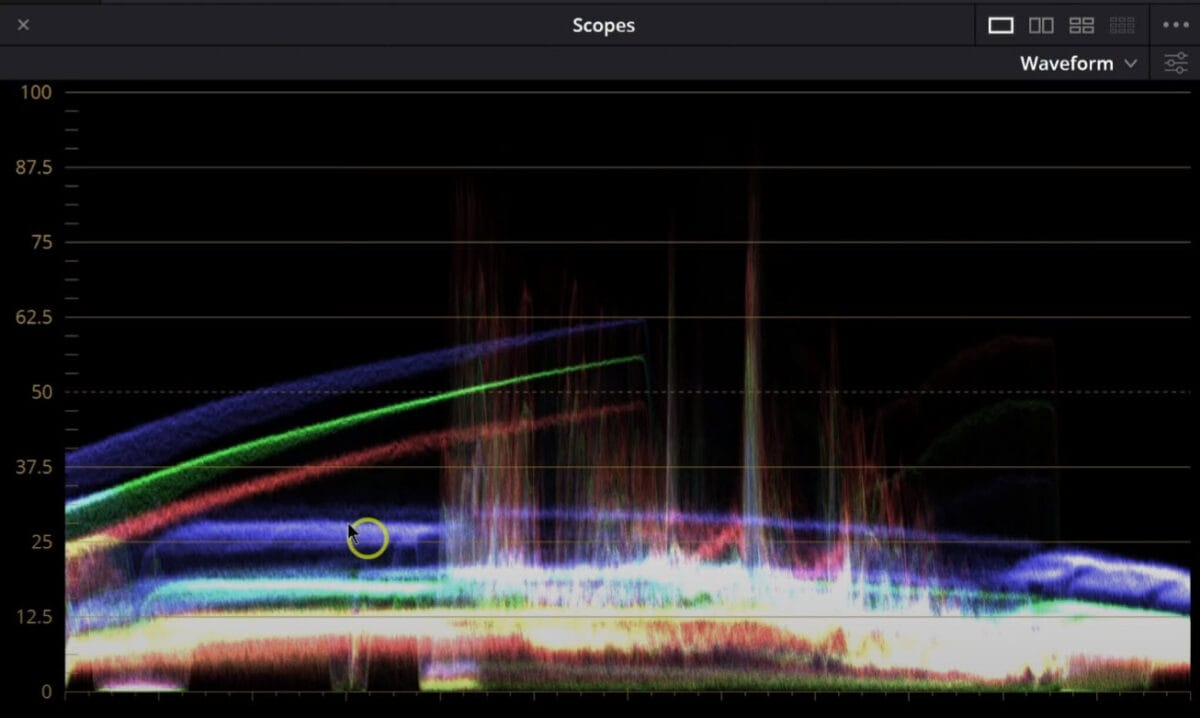
The Waveform Monitor is another crucial tool for identifying white balance problems particularly those related to luminance discrepancies.
Unlike the RGB Parade the Waveform Monitor combines the luminance information from all three color channels into a single composite view.
By analyzing the waveform you can can discern whether the luminance levels across the red, green and blue channels are consistent or if there are disparities that suggest a white balance issue.
For example a scene that should appear neutral but shows higher luminance levels in the blue channel on the Waveform Monitor indicates a cool color cast.
Conversely an excess in the red channel suggests a warm cast.
Adjusting the white balance to neutralize these discrepancies ensures that whites appear true to life and that the overall color balance is accurate.
Recognizing Color Casts in Various Production Environments
Identifying white balance issues is not solely reliant on waveform tools but also requires an understanding of how different production environments can influence color casts.
Various lighting conditions such as tungsten, fluorescent or natural light can introduce specific color casts that may need to be corrected in post-production.
For instance indoor scenes lit with tungsten bulbs often have a warm, orange cast while fluorescent lighting can introduce a greenish hue.
Outdoor scenes particularly in the shade or during the golden hour can have a cooler bluish tone.
Recognizing these environmental factors and their effects on color balance is crucial for making informed corrections using tools like the RGB Parade, Waveform Monitor and offset controls.
Ultimately the ability to spot and correct white balance issues is a fundamental skill for any video professional.
By mastering the use of tools like the RGB Parade and Waveform Monitor and by developing an eye for the subtleties of color casts in different environments colorists can ensure that their footage conveys the intended mood and atmosphere with accurate and consistent colors throughout their work.
Tools for Correcting White Balance
Printer Points: Traditional Film Correction Technique
Before the digital era color correction in film relied on a technique known as Printer Points.
This method involved adjusting the exposure of the red, green, and blue light in a film printer to correct color imbalances.
Each point represented a small incremental change in color density allowing for precise control over the image’s color balance.
The process required a deep understanding of how different film stocks reacted to light and color adjustments.
Although less common in the digital age the concept of printer points still informs modern color correction practices providing a foundation for understanding how to manipulate color channels to achieve the desired white balance.
Channel/RGB Mixer: Modern Digital Color Adjustment

In the digital world the Channel/RGB Mixer is a powerful tool for color correction.
It allows editors and colorists to fine-tune the intensity of red, green, and blue channels within a video.
By adjusting these channels individually one can compensate for color casts and achieve a more natural white balance.
The RGB Mixer is particularly useful for correcting footage shot under mixed lighting conditions or where the camera’s white balance was set incorrectly.
It offers a high degree of control and can also be used creatively to stylize the footage with a specific color grade.
Manipulating the Channel/RGB Mixer
Exploring the Functionality of the RGB Mixer
The RGB Mixer is a powerful tool in the colorist’s arsenal allowing for precise adjustments to the red, green and blue channels of an image or sequence of images as in video.
It operates on the principle that all colors in a digital image can be manipulated through these three primary color channels.
By adjusting the intensity and balance of each channel colorists can correct color imbalances and achieve the desired look for their footage.
Each channel in the RGB Mixer can be modified independently which means that you can increase or decrease the amount of red, green or blue in the image without affecting the other colors.
This level of control is essential when dealing with complex color correction tasks, such as fixing bad white balance or adjusting skin tones.
Practical Tips for Adjusting Individual Channels
- Start with subtle adjustments: When using the RGB Mixer, it’s best to make small changes and gradually build up to the desired effect. This approach helps avoid introducing unwanted color casts.
- Use video scopes: Relying solely on your eyes can be misleading due to their adaptability to color shifts. Instead use video scopes like the Vectorscope and RGB Parade to guide your adjustments objectively.
- Balance the channels: Aim for a balanced RGB Parade where the peaks and troughs of each channel align. This balance is indicative of a neutral white balance.
- Isolate adjustments: If you need to correct a specific area of the image, consider using secondary color correction tools in conjunction with the RGB Mixer to target your adjustments.
Experimenting with the RGB Mixer for Creative Effects
Beyond correction the RGB Mixer can be used creatively to stylize footage.
For instance you can simulate a vintage look by muting certain colors or create a cold, blue tone for a night scene.
The possibilities are endless but it’s important to maintain consistency throughout your project to ensure a cohesive visual narrative.
When experimenting with creative effects, consider the following tips:
- Understand color theory: Knowing how colors interact and the emotional responses they can evoke will help you make informed creative decisions.
- Keep it motivated: Any color shift should feel motivated by the story or the environment. Random color changes can distract the viewer and detract from the narrative.
- Reference other works: Look at films or videos with a style you admire for inspiration on how to use the RGB Mixer creatively.
Offset Controls: Sliders and Hue/Color Wheel
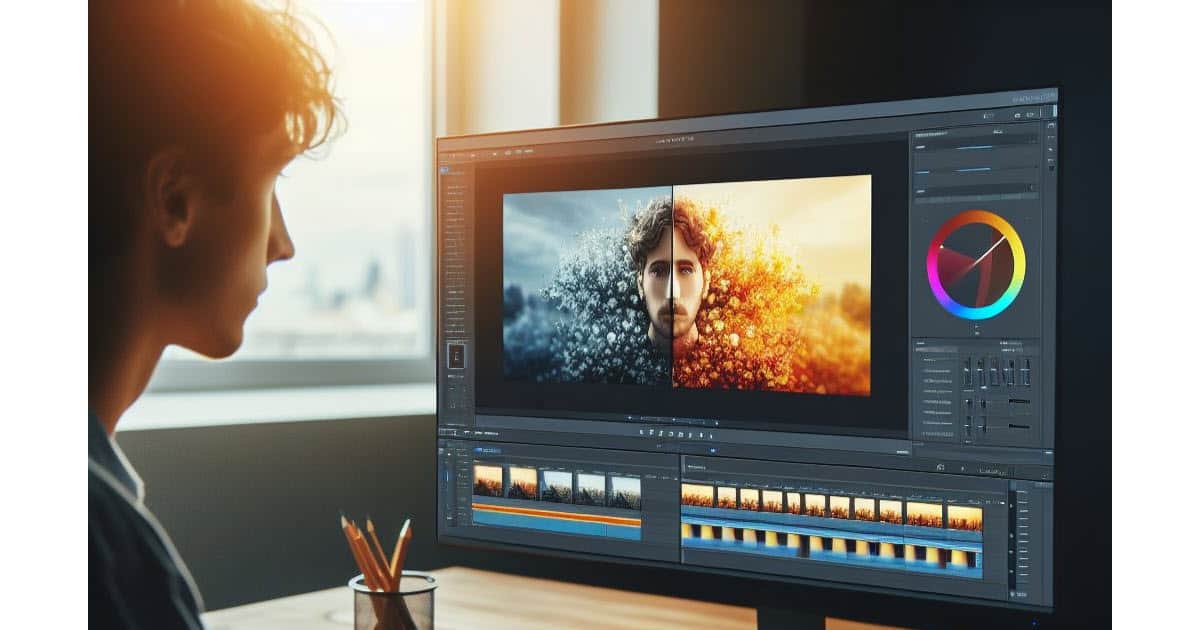
The Offset Controls as shown in the top image of this page are a staple in many color correction software packages.
They provide a user-friendly interface for making global adjustments to the image’s shadows, midtones and highlights.
The sliders typically allow for straightforward adjustments of the red, green and blue channels effectively shifting the overall color balance of the footage.
This can be particularly helpful when dealing with footage that has a noticeable color cast, as it enables quick and broad corrections.
In addition to sliders some applications feature a Hue/Color Wheel or slider for offset adjustments.
This tool offers a more intuitive approach to color correction as it visually represents the color spectrum.
By moving a control point around the wheel colorists can subtly shift the white balance towards the desired hue.
This method is especially beneficial when trying to balance colors in a more creative or cinematic way, as it allows for a more nuanced and artistic control over the image’s color palette.
The RGB Mixer is a versatile tool that can both correct white balance issues and serve as a creative instrument to shape the look of your video.
By understanding its functionality and applying practical tips you can leverage the RGB Mixer to enhance your color grading workflow and elevate the visual quality of your projects.
Mastering Offset Controls for White Balance
Differentiating Between Sliders and Hue Offset Wheel
Color correction in video editing involves various tools each with its unique function.
Among these offset sliders and the hue offset wheel are pivotal for adjusting white balance.
Offset sliders typically adjust the intensity of red, green and blue channels in an image allowing for fine-tuning of the overall color balance.
They are represented as separate controls for each color channel and are ideal for correcting minor color imbalances.
On the other hand the hue offset wheel often found in advanced color grading software like DaVinci Resolve provides a more intuitive approach to color correction.
It allows for simultaneous adjustment of all color channels by rotating the wheel which can be particularly useful for making broader color temperature adjustments.
Correcting White Balance with Offset Sliders
When a video exhibits an incorrect white balance offset sliders can be a precise tool for correction.
To correct white balance using offset sliders one must first identify which color is dominant and then move the corresponding slider in the opposite direction to neutralize the color cast.
For instance if an image appears too blue the blue slider should be reduced while the red and green may be increased slightly to compensate and achieve a natural look.
This method requires a keen eye and a good understanding of color relationships.
Using the Hue Offset Wheel Intuitively
The hue offset wheel offers a more intuitive method for correcting white balance.
By simply rotating the wheel, you can shift the overall hue of the image towards the desired color temperature.
This tool is particularly effective when dealing with footage that has a complex mix of color temperatures or when a creative color grade is desired.
The key to using the hue offset wheel effectively is to start with subtle adjustments and gradually increase the intensity until the desired white balance is achieved.
Challenges and Solutions When Using Offset Controls
While offset controls are powerful, they come with challenges.
One common issue is overcorrection where adjustments made to fix one problem inadvertently create another such as an unnatural skin tone.
To avoid this it’s crucial to make incremental changes and constantly reference a properly calibrated monitor or use video scopes for objective analysis.
Another challenge is maintaining consistency across multiple clips.
The solution is to apply corrections to a ‘hero’ clip and then match other clips to this reference ensuring a uniform look throughout the sequence.
Mastering offset controls for white balance is essential for any video editor or colorist.
By understanding the differences between sliders and the hue offset wheel and by being aware of the potential challenges, one can effectively use these tools to enhance video quality and achieve the desired visual tone.
Final Thoughts
Color correction is an art that requires a keen eye and a deep understanding of how colors interact within a video.
It’s not just about fixing errors but also about enhancing the overall visual storytelling.
A well-balanced white point can transform a flat, lifeless image into a vibrant and engaging scene that resonates with viewers.
As technology advances and the tools at our disposal become more sophisticated the principles of color theory will remain constant.
Whether you’re a seasoned colorist or a beginner the key is to practice and experiment with these tools to discover what works best for your footage.
Discover more from The DIY Video Editor
Subscribe to get the latest posts sent to your email.
Leave a Reply