A Little Hollywood Magic
So what do you do if you want to communicate the sense of excitement that the kids are experiencing at the entrance to the zoo if you didn’t get a shot of that?
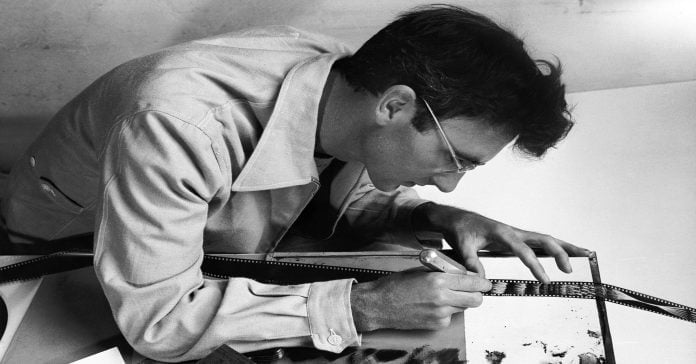
This is where the true sense of editing comes in.
If we continue with our example of the zoo trip you will most likely find that you have a shot of the kids looking excited in a relatively close shot at least somewhere in all your footage.
Because the shot is close, the background will probably be unremarkable.
So you take that shot from sometime later in the day and add it to the entrance sequence and… voila!
We now see that the kids are excited when they are entering the zoo!
By arranging successive shots you are trying to get across a sense of continuity through a variety of shots.
As you are adding clips you must always be asking yourself what happens next in the story and what shot can I include to show that?
The whole time you are doing this you are looking for shots that vary in degrees of closeness and the angle from where it has been shot from in relation to the action.
In a very simple sense what you are trying to do is match the action that is being viewed in a particular sequence whilst at the same time changing the camera angle to maintain interest.
Video Editing Spit’n’Polish
If you have even loosely applied what I have written so far what you will have is a fairly good series of clips in sequence that tell and overall story.
But that’s not the end of what you need to add to have a complete production.
Have a play around with the transitions in between the individual shots.
Don’t go crazy with the flipping, spinning, twirling stuff unless it is appropriate to the subject matter.
A straight cut with no transition simply continues the action, a cross-fade or dissolve slows the action or can introduce a more slowly paced “feel” to the sequence.
Have a play with them and try to look at the effect they create from the viewers point of view… not yours.
Next comes audio and most consumer level video editing software programs will offer at least some kind of background music generation feature and these days, pretty good control over mixing the sound tracks together.
Your choices here are for you to add a narration, go with the original sound from the camcorder, mute all the sound and have a montage effect with music or a combination of all three.
There is no real “rule” but the one that I apply is to use what “feels” most appropriate for what is being shown visually.
Always Shoot to Edit
From this brief outline I hope you can at least see the value in having some sort of plan regarding your editing beyond cutting out the rubbish!
To take it to it’s logical end the most effective application of all of this is to plan it all out before you even take a shot. The next time you are out with the camcorder start thinking ahead about the shots you are taking.
Don’t just grab anything and everything that moves, think about what shots you may need or what shots would be good for “telling the story” of what you are shooting at a later time when you are hunched over the computer trying to make sense of it all!
Back to Video Editing Basic Part One
Leave a Reply