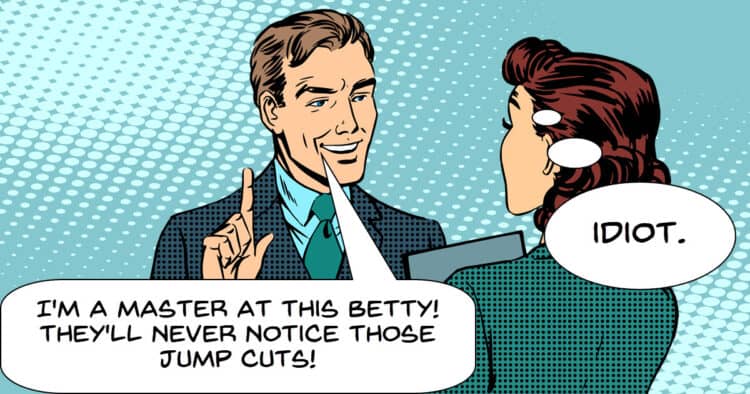
Creating videos these days often involves using jump cuts which are those sudden transitions that can occur when you are cutting out a mistake or pauses in the dialogue.
Originally in filmmaking a jump cut was either a complete mistake or intentionally used to progress a character or scene quickly to show time passing.
With the emergence of YouTube and home edited videos the jump cut became far more common because it’s a down and dirty way to speed up the dialogue, cut out pauses and keep the pace moving along.
Over time audiences became accustomed to these frequent jumps so that these days they are not really noticed all that much.
There is of course a limit to how much an audience can or will tolerate when it comes to the frequency of jump cuts and if they are occurring too often, audience attention may get lost.
If you are backed into a bit of a corner when it comes to having too many jump cuts for whatever reason there are a few ways you can hide them so they are not as noticeable or distracting.
Use Multiple Camera Angles
One of the best strategies to disguise jump cuts is to employ two different camera angles.
Ideally you can record with a second device at the same time as you are recording the original footage and use the secondary source to cut to every so often.
This can be as basic as just using someone’s smart phone and you don’t even need to worry about the audio because you can use the main source audio throughout.
By switching perspectives, it will feel like you’ve simply changed angles and an audience will accept this without question as they are used to that kind of cutting.
At a stretch you can even record a second time with the same form a totally different angle and cut that later recorded footage into the final sequence.
Here are some essential rules to keep in mind if you are trying this:
The 180-Degree Rule: Always stay on one side of the imaginary axis of your subjects to avoid confusing your viewers. If you break this rule and switch sides, it can create a jarring continuity error.
The 30/20 Rule: Aim to change your shooting angle by at least 30 degrees and the focal length by 20mm (either wider or more zoomed in) to provide a fresh perspective without being jarring.
B-Roll Cutaways
When a second angle isn’t available, consider using B-roll footage to cover cuts.
Inserting relevant cutaway shots before your jump cut can help create a natural transition back to your main footage.
Here’s a quick tip: place the B-roll footage before the cut instead of starting on the cut itself. This way, the transition feels smoother and less noticeable.
Do a little research on how to do J-cuts and L-cuts to pull this one off at a pro level.
If shooting relevant B-roll isn’t an option, check out stock footage libraries.
Services like Pixabay and Pexels offer a range of royalty-free clips that can perfectly complement your video.
Incorporate Motion for Misdirection
Sometimes, a simple hand motion can mask a jump cut.
If you know you’ve made a mistake while recording but can’t start over, try introducing a little flair.
This could mean passing an object from one hand to the other or setting something down smoothly.
For instance, if you were talking about a lens, and suddenly have a hat in your hand, begin by dropping the lens and lifting the hat in the same motion.
This method utilizes misdirection, redirecting viewers’ eyes away from the change in your setup.
Use Graphics or Lower-Thirds
If you can’t make a misdirection physically, consider employing graphics in post-production.
You might use a lower-third graphic or some kind of other on-screen asset to distract the eye during a jump cut.
For example, if a graphic fades out as you make the cut, it draws attention to the screen instead of your timing error.
Smooth Cut Transitions
When all else fails, combining segments from different takes can provide a solution.
Using a smooth cut feature in programs like DaVinci Resolve can seamlessly transition between these two clips.
The smooth cut option allows minor adjustments that can mask imperfection effectively, especially if your head movement is minimal.
Just to clarify this one, the Smooth Cut transition in Resolve is like a cross between a crossfade and a morphing style transition.
Not all video editing software has something like this and just using a straight crossfade rarely looks better than the jump, so take a look around at what you have available to see if you can find something that works.
Audio Adjustments
When editing, be mindful of the audio.
Applying J-cuts and L-cuts effectively can allow you a little more flexibility to finding the actual point where you are going to make the cut.
This can soften abrupt transitions and enhance the overall flow.
Volume Control: Often, the enthusiasm at the beginning of a new take can differ from the previous one.
Listen for this and if it is present use keyframes to subtly control that volume so that it doesn’t add to the potentially jarring effect of the jump cut.
That should be enough for you to be going on with but for a little more here’s a cool video covering the subject as well:
Leave a Reply