5 Tips For Smooth Cinematic Gimbal Shots
OK, so I am leading off this weeks post with the video below because it really is one of those tutorial videos that is important.
Often these days we get pulled into the marketing of products with all sorts of promises being made.
The reality however is very often a long way from the marketing hype!
Green screen is the perfect example.
You can go to just about any website that offers software capable of executing green screen and it will tell you all about how this or that software can do it.
What they don’t tell you is that 90% of green screen actually occurs at the shooting point of the production and the software only plays a minor role!
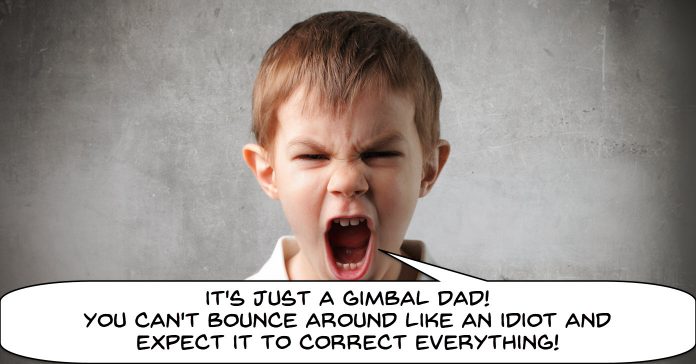
So that leads me to one of the current “darlings” of the video equipment world which is gimbals.
The switch to high definition video meant that in most ways we all gained so much but on the other hand what we lost was that warm fuzzy and most importantly, “forgiving” nature of standard definition!
A little out of focus? SD had you covered!
A little camera shake? SD had your back most of the time!
With high definition we lost all that and the need for steady shooting and stabilized cameras became important.
These days tripods, gimbals and any other stabilizing arrangements are everywhere and are being sold everywhere.
I see gimbals promoted all over the place and nearly every time I see that promotion the idea is that somehow a gimbal is going to solve every problem you have regarding camera shake.
The reality is that a gimbal will certainly allow you to shoot steady footage BUT!
The first thing you need to learn is how to use that gimbal and what its limitations are.
PowerDirector – Create a Speed Ramp Transition
Speed ramping is a great effect if used in moderation and a great way to control time in the minds of your audience.
Most software can speed up and slow down videos loaded in to a project however speed ramping takes that a little further.
By using key frames you can increase or decrease the rate at which a clip or sequence is speeding up or slowing down.
Just about any video editor that allows key frames to be used in conjunction with playback speed can achieve speed ramping.
Check out the video below for a demo in PowerDirector but the ideas remain the same regardless of what software you are using.
5 Tips For Filming Slow Motion B-roll
Slow motion b-roll footage is all the rage with the groovy kids these days so here’s a pretty good tutorial on the subject.
It is especially good given that it comes from an experienced point of view.
Of particular note is the concept of sweating too much over stabilization when shooting footage like this and for the purpose it was intended.
More on Medium Shots
There are number of “shots” that any video creator will use to pull and audience along with the story of their video.
In general terms there is the long shot, the medium shot, the closeup and the extreme close up.
That of course is by no means the full list but those are the basic building blocks.
Each of those shot creates a particular effect in the minds of the viewer and for a overview of that you can read more about shots HERE.
However this week I came across this article discussing in more depth the use of the medium shot and thought it was well worth taking a look at.
Sound Effects Masterclass – Cinematic Anything Quickly
As I have mentioned before many times one of the key differences between an amateur and pro video is in the way the audio is handled.
The use of audio transitions, the layering or sounds in fact just about anything to do with what ends up being the “sound track” of your final video.
I think it would be in everyone’s interest to take a look at the video below.
It goes into quite some detail on how to layer and build sound within a project and more importantly why those steps are being taken and the intended effect on the audience.
Creating Powerful Transitions With Audio
This is another tutorial I came across this week on the subject of using audio as the main feature of a transition rather then some spinning, whirling cheesiness from your transitions library.
If you take a look at a lot of professional videos and movies and watch carefully enough you will find audio transitions everywhere.
By far the main technique used to go from shot to shot is just a straight cut and if you or I do that things get a little boring very quickly.
On the other hand when the pro’s keep using straight cuts it never seems to get boring or repetitive.
The reason for that is that they are using audio transitions at the cut point to keep interest high.
Animate Your Titles in 5 Seconds
One aspect of creating videos with just a little more professional polish is by using well made titles.
The downside to that is that creating titles is a bit of a PITA in most cases.
Sure you can slap in some of the pre-made titles that came with your software but let’s face it, they generally look a tad cheesy and scream amateur at you from the screen!
As is the case with most presets and pre-configured effects etc in any consumer grade editing software it really only takes a few tweaks to get them looking better… but again, it is kind of boring and tedious to accomplish.
In the video below the creator goes into an idea I think a lot of people could benefit from and that is the idea of simple creating your own preset titles ready for use in your projects.
All it really takes is deciding to just sit down and create a range of titles that you can save and then add to your projects at a later date.
Sort of like your own titles library where all you have to do is add them and change the text.
SIMPLE Rig for “TASTY” Overhead SHOTS!
If there is one thing that is really annoying about a lot of online “demonstration” videos it is that you can’t actually see what is being demonstrated!
Probably the best example of this is cooking demos where the person showing the technique is doing something inside a bowl or container, talking endlessly about what you are supposed to be looking at yet at the same time you can’t see it!
There are a multitude of videos like this on YouTube and of course the solution to all of this is the overhead shot.
However having a friend stand on a chair shooting a shaky overhead is not really all that much better than being unable to see in the first place.
Most of the more professionally shot videos like this tend to rely on complicated and expensive camera rigs to get those steady, clear overheads.
However for most of us those types of rigs are not within the budget… in fact for most of us there IS no budget in the first place!
Anyway check out the video below for a relatively cheap alternative that utilizes a little re-purposing of a monitor mount to provide a good solution to the problem.
Keyframing, Text Shake Effect, Fade In and Fade Out + More! – Filmora
This is just a simple tips videos from Filmora covering questions asked specifically about Filmora9.
It deals with some audio keyframing ideas, adding a shake effect to text, simple fades in from black and out to black as well as a few other bits and pieces.
How to Edit, Detach, & Layer Sound – FilmoraPro Tutorial
This is a new tutorial video from the guys at Filmora demonstrating some of the more precise audio controls available in their new Filmora Pro.
It covers adjusting audio at a track level, at an overall level and down to the level of individual audio clips.
It also shows how you can add keyframes to precisely adjust settings over time and how to layers sounds to build up an overall soundtrack.
Original Image:
Child With Angry Expression: Ollyy/Shutterstock.
Leave a Reply