
As a video creator there are few things more devastating than losing hours of work due to a technical failure.
It doesn’t matter if you are creating content for YouTube or working on personal projects, having a reliable backup strategy isn’t just good practice – it’s essential.
In this this guide I will attempt to take you through everything you need to know about keeping your video projects safe and secure.
Considerations Specific to Video Editing Backups
Video editing comes with unique challenges and circumstances when it comes to the actual use of backups.
Unlike documents or photos video files are typically massive, often reaching hundreds of gigabytes for a single project.
Additionally, you’re not just dealing with final rendered videos – you need to consider raw footage, project files, assets like music and graphics, and various video formats.
The ultimate use of a backup can come into play if you are halfway through a project and suffer some kind of crash resulting in lost work.
However it can also occur when you want to re-purpose assets or even entirely redo a project.
Either way, no backup means no can do!
What You Need to Protect
Before diving into specific solutions, let’s identify what needs backing up:
- Raw footage from your camera
- Project files from your editing software
- Rendered/exported videos
- Assets (music, sound effects, transitions, graphics)
- Preset files (color grades, transitions, effects)
The 3-2-1 Backup Strategy
The generally agreed foundation of any good backup system is the 3-2-1 rule which is the system that fully professional production houses employ.
For the average home user or someone not really operating at a fully pro level, the full application of 3-2-1 is probably a little on the overkill side of things but it does form a solid foundation upon which to formulate your own policies.
3-2-1 means:
- Keep 3 copies of your data
- Store them on 2 different types of storage media
- Keep 1 copy offsite
For video editors, this might look like:
- Original files on your editing computer
- Local backup on an external drive
- Cloud backup or another external drive stored elsewhere
I personally think this is a good start but as I said earlier I also think it is a bit of overkill unless you are completing work for paid clients.
My personal system is to use the original files on my editing computer while I am working on a project.
Once the project is completed I back everything up to an external hard drive and also to an account in the cloud (online).
I then remove everything off the working computer drive to keep that uncluttered and with as much free space as possible.
There are various options available as what you are going to use for your backups so it is a good idea to understand some of the pro’s and con’s of the most common ones.
External Hard Drives
The most straightforward backup solution is an external hard drive.
The reason we go for an external hard drive other than the fact that it offers portability is that it exists and functions separate to your main editing computer.
Even if your computer suffers a catastrophic malfunction, the external hard drive will be fine as it is not dependant on that computer for anything.
When choosing such a drive you should be keeping a few things in mind.
First up and of course the most obvious is the storage capacity it offers.
Take a look at how much material you already have that you would need to transfer to that new drive.
Once you have that figure then trackback a few months in time to gauge an idea of how much data you are creating per month or week or whatever and work out what size drive would last how long before it was full.
4TB to 8TB drives offer good value for most creators so try to find a sweet spot in getting the largest drive possible at a price you can afford.
Bear in mind that these days 4k video is the more common format and those things are really big!
Drive Speed
You will often see reference to the read/write speeds of various backup options however it is important to understand why this is mentioned as being important.
The speed of the drives is referenced because there is an assumption that the backups or copies may be being accessed across a network or shared situation while the files are still being used.
This again is referring to a more professional or high volume situation and for the home user is somewhat irrelevant.
Read/Write speeds are not really going to come into play because the average user is treating the backup for strictly archival purposes.
Yes, if you are transferring to or retrieving files from the backup to work with them again you may have to wait a few minutes but that is hardly a problem for the average user.
Recommended Options for Beginners:
Western Digital My Passport (portable)

Seagate Backup Plus Hub (desktop)

LaCie Rugged

RAID Systems
As you start to accumulate more footage you may want to consider a RAID (Redundant Array of Independent Disks) system.
A RAID system is generally a standalone piece of hardware with its own internal software to manage the data being stored on it.
It can be setup using HDDs or SSDs but at a minimum has two drives for the actual storage space.
These generally come as a case with the management software loaded plus bays to insert either hard disk drives or SSDs for the storage.
For beginners, two popular RAID levels are:
RAID 1
This Raid array mirrors data across two drives so that if one drive fails, your data is safe on the other.
RAID 5
This RAID array requires at least three drives and offers better storage efficiency and again can survive one drive failure.
Essentially RAID units are used when the storage requirement are starting to get rather high and the idea of numerous external hard drives kicking around the house gets out of hand.
They do offer a more secure solution given that they operate as a sort of “backup within a backup” basis so that a single drive failure is not the end of the world.
Popular Consumer RAID Solutions
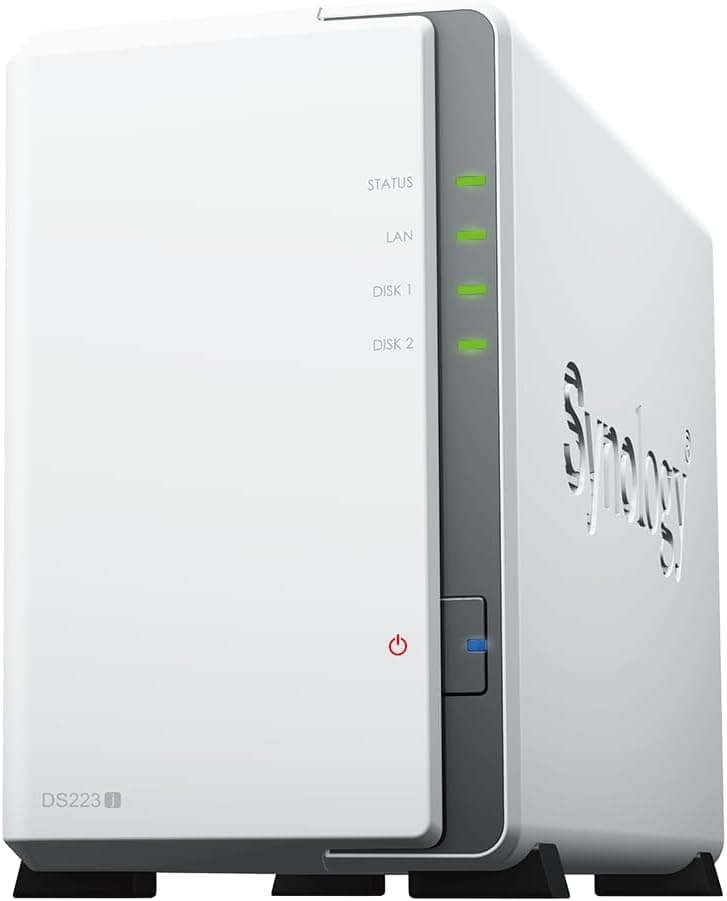
Synology DiskStation
QNAP NAS systems

NAS Without a Network
In the previous section of this article I referred to RAID systems for backups and the most easily available hardware for this are generally described as NAS systems.
NAS stands for Network Attached Storage which conveys the idea that it is a standalone “computer” that your computer or others can access over a network and to be honest… that’s what it is!
However for the home user who may not actually have a “network” this would seem to be out of the question.
Well not so fast!
A NAS RAID box can actually be connected directly to a single computer quite simply and there a many, many videos on YouTube showing how to do that.
So although it may all seem a little foreign, think of it this way. If I can do it, so can you!
Cloud Backup Solutions
Cloud storage is another alternative for offsite backup and offers several advantages.
You can access files from anywhere and all the reputable providers like Google and Dropbox maintain automatic backup protection against local disasters.
The way they do that is by mirroring your files across a range of servers in the cloud so that if one data center has a problem your files always survive somewhere else.
General Cloud Storage
These services work well for final videos and smaller projects:
Google Drive
- 15GB free storage
- Affordable upgrades
- Easy sharing options
- Integrates well with YouTube
Dropbox
- Clean interface
- Good file syncing
- Selective folder sync
- Version history
Practical Backup Workflow for Beginners
Here’s a straightforward workflow that balances security with convenience:
For the average user the backup workflow should be a fairly straightforward process and not something you need to do every day.
Keep whatever projects you are working on located where you normally would keep them on your computer.
When you start a project create a backup folder on your backup solution with the name of that project.
When you initially import the raw footage for that project onto your working computer immediately make a backup of that footage.
Once you have imported all other assets to be used in the project, stop for a moment and evaluate as to whether you will need any of those assets in the future should you need to recreate that project due to complete loss.
If yes, back it up. If no then do nothing.
As you are working on the project, every time you make major changes to it choose to save the project file of whatever software you are using to the backup source as well as the working folder you are using.
Once the project has finished save a final project file as the last project file and save that to the backup folder.
Re-evaluate what you would like to archive from the project such as image assets, final rendered video files etc. and send them to the backup folder.
Once all that has happened delete all the originals to save space on your working computer.
Once per month or so just check to see that your backup media or cloud service is working as expected.
Cost Considerations
All of what you have read so far has to be balanced out against the actual cost of either the hardware or services you are going to use.
Hardware will incur the greatest initial cost whereas Cloud services represent an ongoing cost for renting space.
Keep that in mind as you are deciding but at the same time keep a close eye out for the “future” in all of this.
Your backups are supposed to continue through time so bear that in mind.
Emergency Recovery Plan
Always have a plan for when things go wrong:
Document Your Setup
- Keep a list of all backup locations
- Note down software licenses
- Store passwords securely
Test Recovery Regularly
- Practice restoring files
- Know how to access cloud backups
- Keep recovery software ready
In Summary
Starting with backups might seem overwhelming, but begin with the basics:
- Get an external drive
- Sign up for cloud storage
- Create a basic organization system
- Set up automatic backups
As your needs grow, you can expand your system. Remember, the best backup system is one you’ll actually use consistently.
Start simple, be consistent and protect your creative work.
Leave a Reply